AI Image Editor
The AI Image Editor is a layered canvas built into XGENIA for making the art your project needs — key art, icons, sprites, backgrounds, textures. Open it from the AI Image Editor icon in the editor's left sidebar, one above Chat.
Despite the name it is not limited to stills: the same prompt bar generates video and audio, depending on which model you pick.
It needs a Fal.ai API key — see Tools & Integrations.
Two ways to work
Prompt-driven. Describe what you want, mask a region and prompt again, upscale, remove a background — all AI operations, no drawing involved. This covers the whole job.
By hand. Brushes, shapes, text and a full paint engine, for when correcting something yourself is quicker than describing it, or when you are an artist and would rather paint.
Neither is a fallback for the other. Pick whichever suits the task.
Start here
| If you want to | Read |
|---|---|
| Learn the canvas, tools and shortcuts | Overview |
| Generate something | Generating Images |
| Fix, mask, upscale, or paint on an image | Editing & Layers |
| Turn a flat image into a layered Photoshop file | Export to PSD |
| Choose among the hundreds of models | Model Hub |
| Keep multiple canvases and find an old generation | Canvases & History |
Choosing a model
Opening the Model Hub
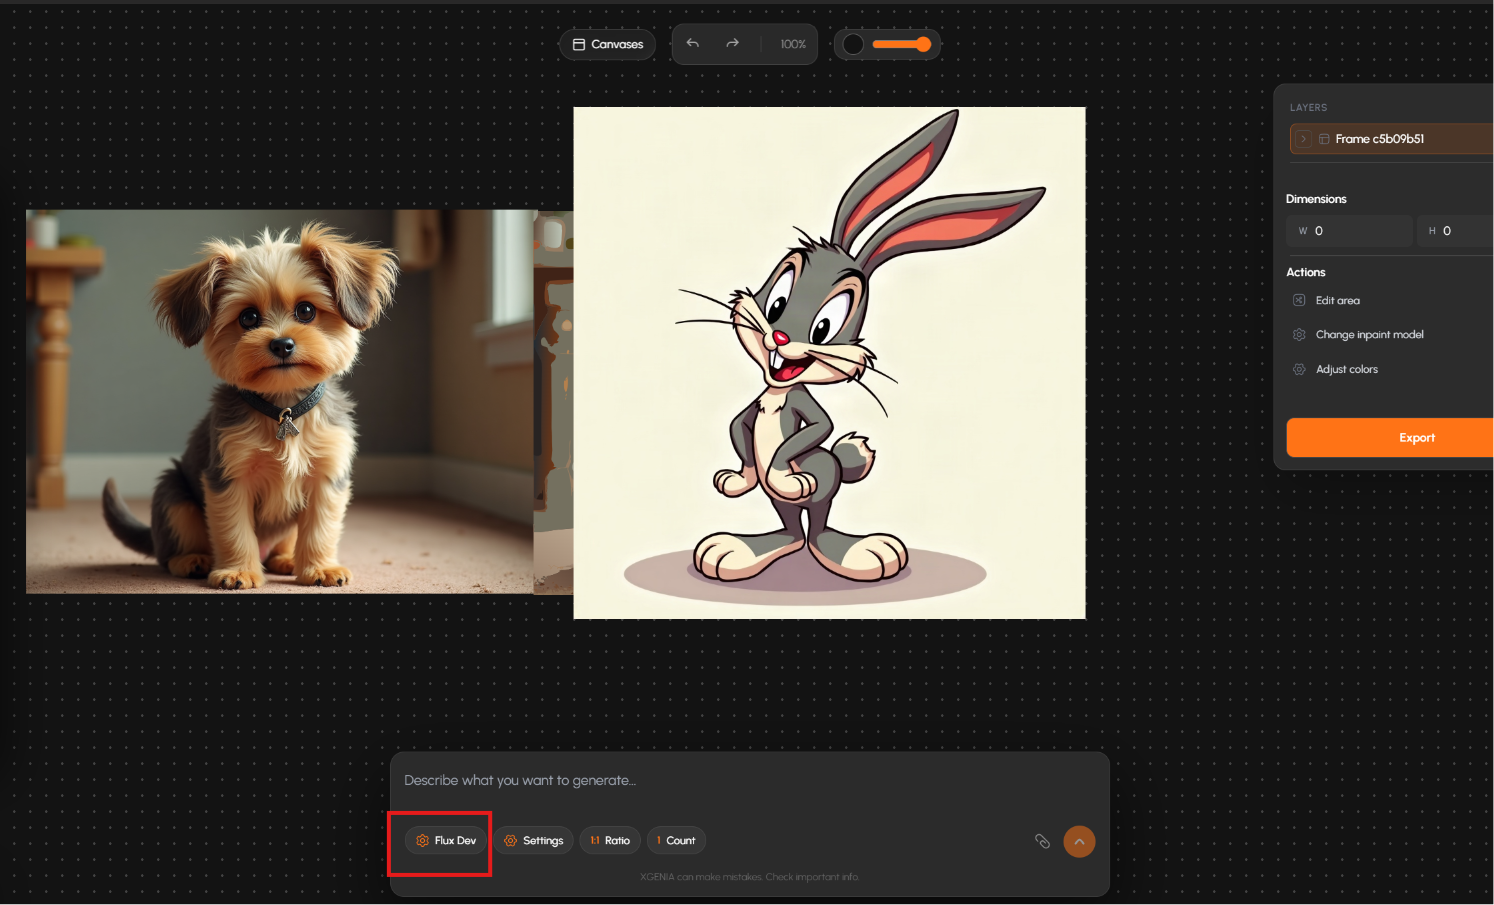
The model the editor generates with is named on the chip at the left of the prompt bar — Flux Dev below. Click it to open the Model Hub, the central catalogue of every generation engine available in XGENIA.
Browsing and filtering
Two ways to narrow several hundred models down to the one you want:
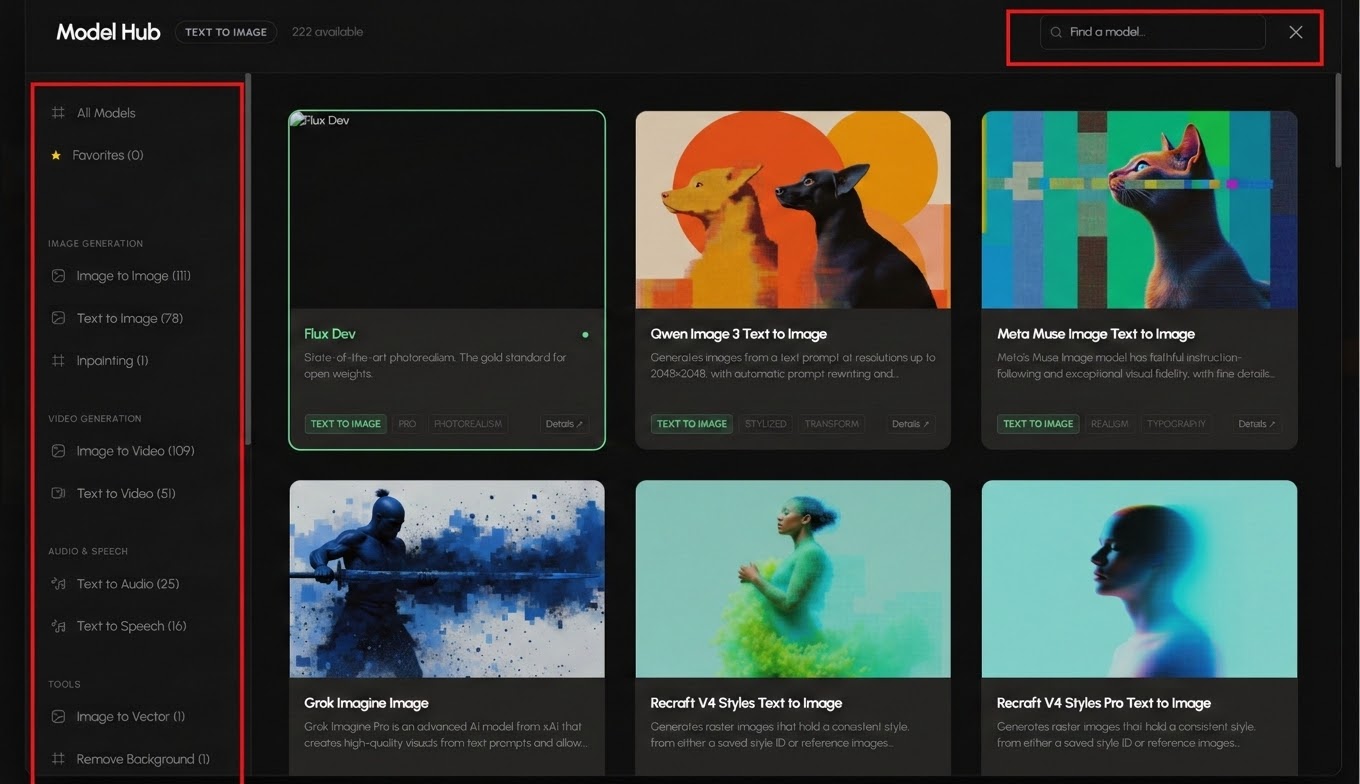
- Category filtering — the sidebar groups models by task: Text to Image, Image to Image, Inpainting, then video, audio and tools further down. Each category carries a count, and Favorites collects the models you have starred.
- Global search — Find a model… at the top right takes a model name or a developer name.
Applying your selection
Pick a model and the editor updates immediately — the chip in the prompt bar changes and the new capabilities are live. Before you generate, check the settings next to the chip (Settings, Ratio, Count) still make sense for what you just chose; not every architecture accepts the same ratios or batch sizes.
For how to read a model card, what the badges mean, and which model suits which job, see Model Hub.
Keys and where models are set
Fal.ai — required for the Image Editor
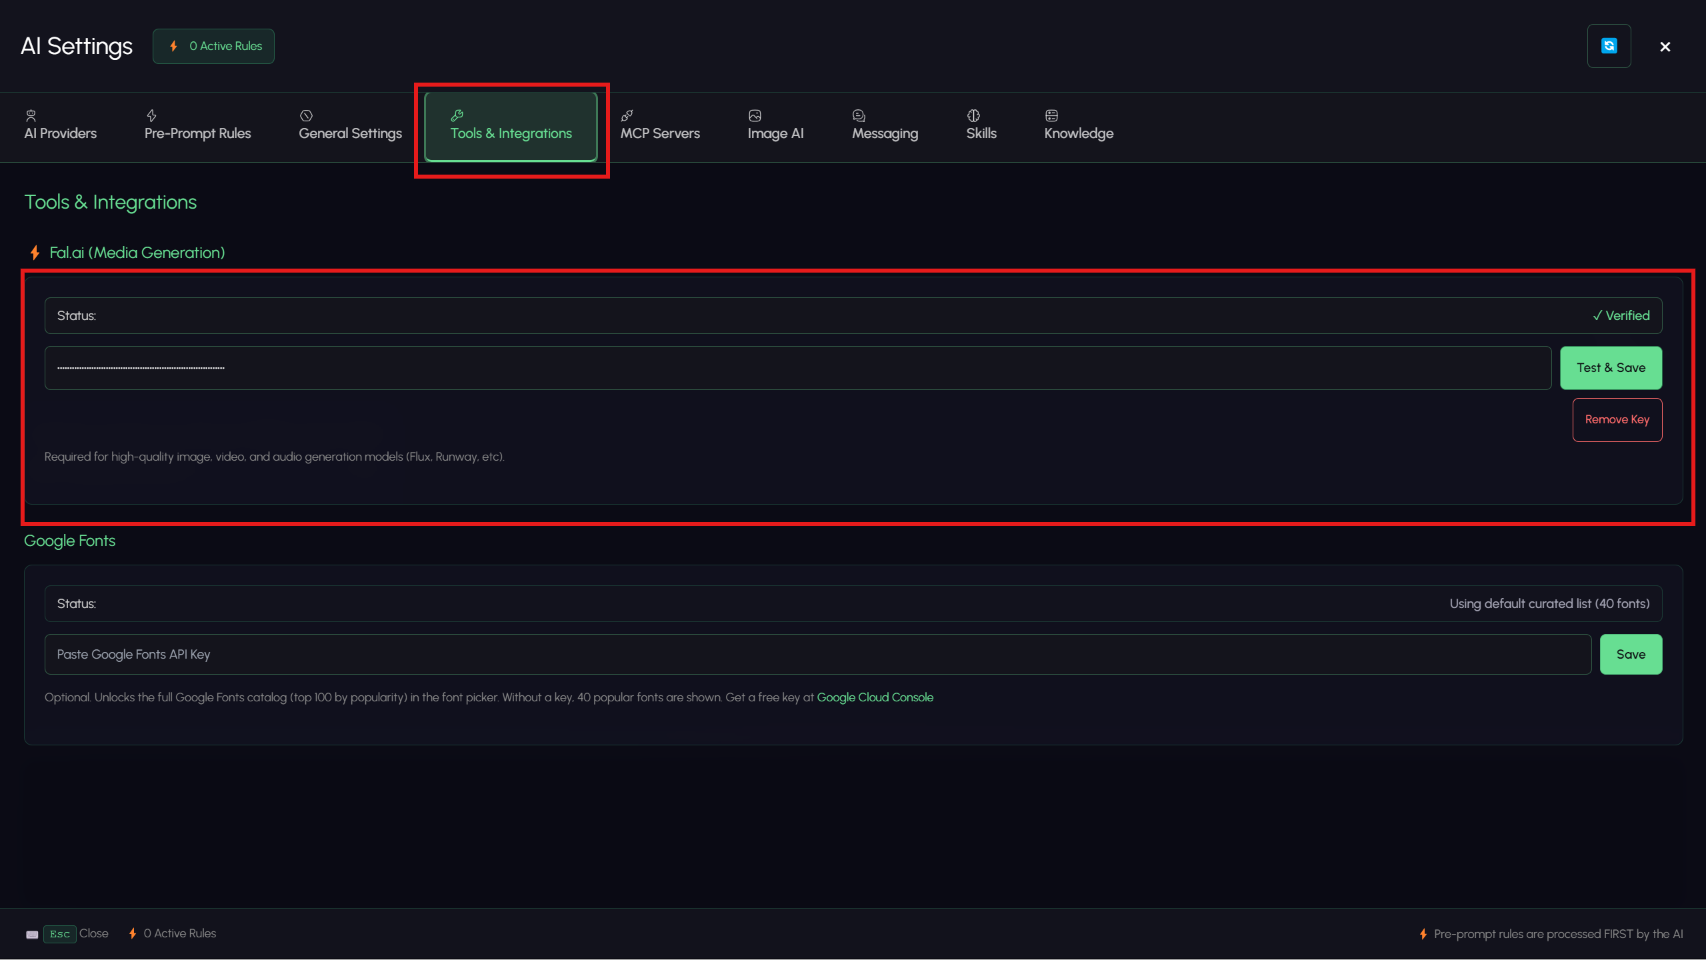
Everything the Image Editor generates runs through Fal.ai. Open AI Settings → Tools & Integrations, paste the key, and click Test & Save — the status line flips to Verified once it has been checked against the service.
OpenRouter — for the AI agent
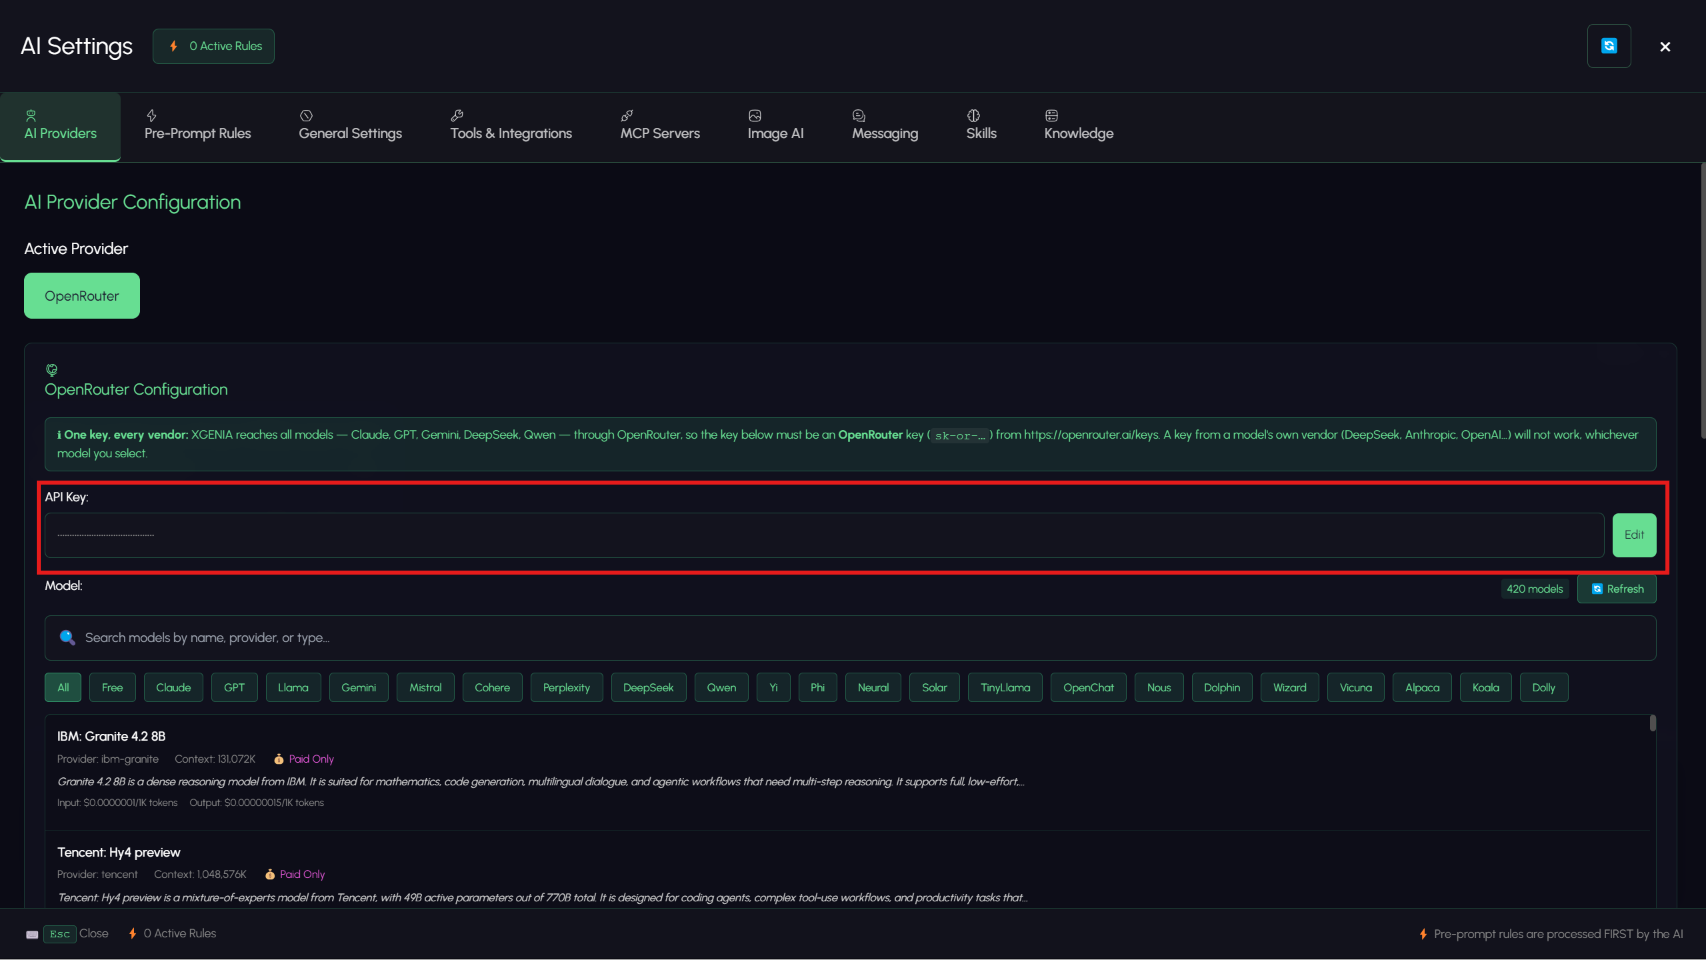
The language model behind Chat is a separate key, on the AI Providers tab. XGENIA reaches every vendor — Claude, GPT, Gemini, DeepSeek, Qwen — through OpenRouter, so the key must start with sk-or-; a key issued by a model's own vendor will be rejected whichever model you select.
Which panel sets which model
| The model used for | Set it in |
|---|---|
| Generations in the Image Editor | The Model Hub — the chip in the prompt bar |
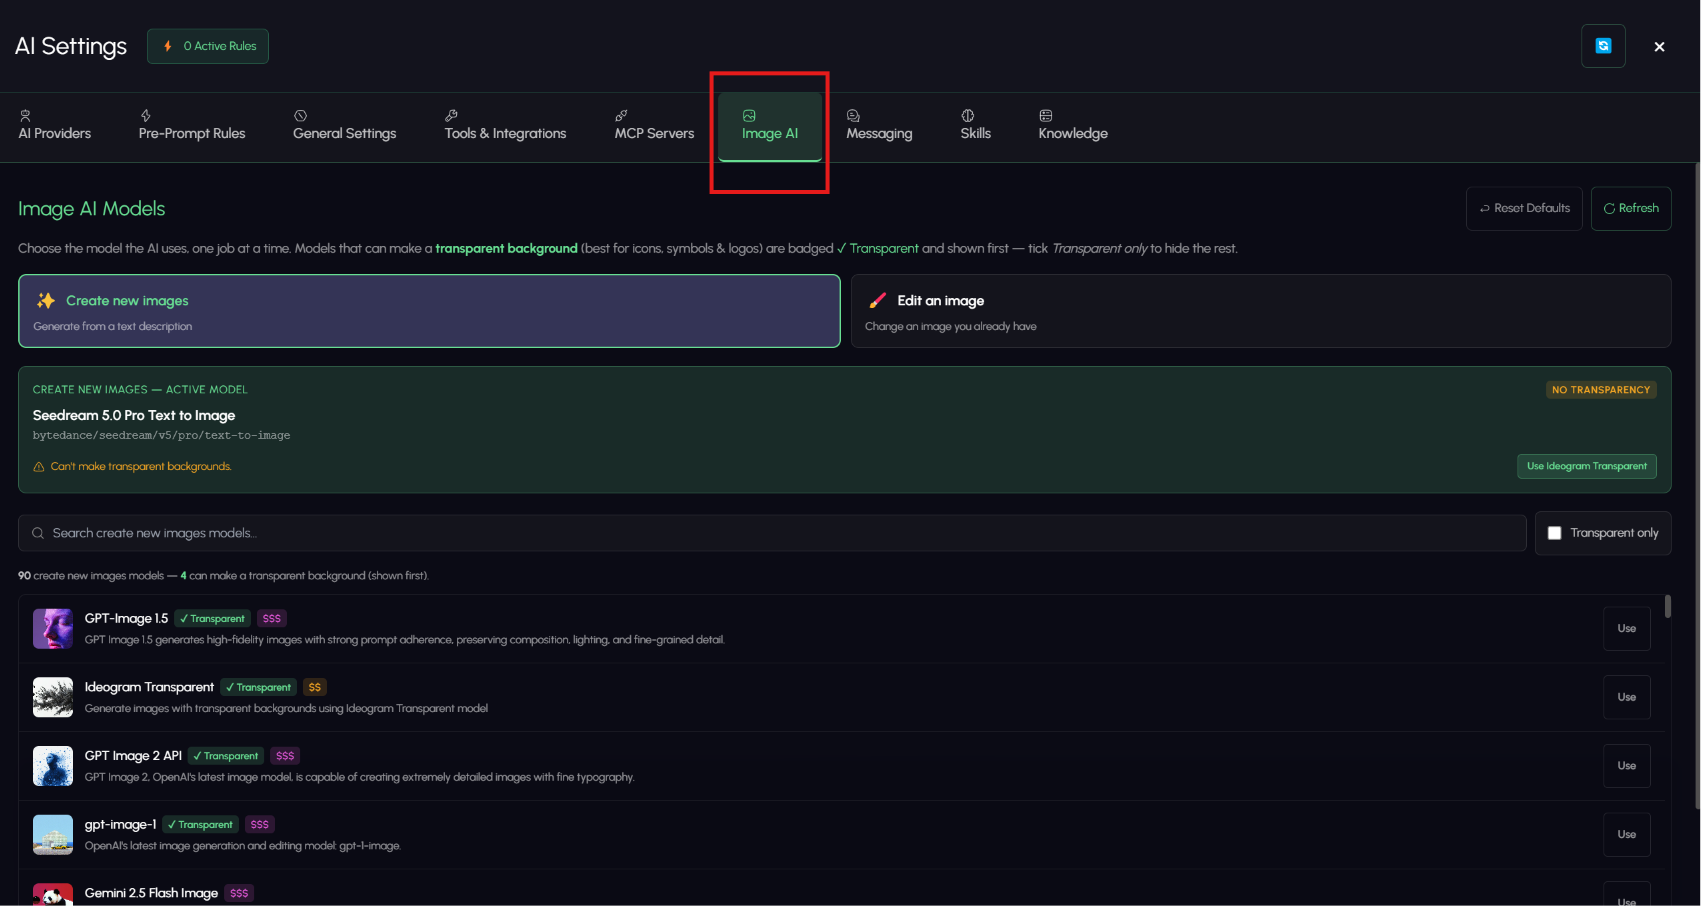
| Art the AI agent generates during a build | AI Settings → Image AI |
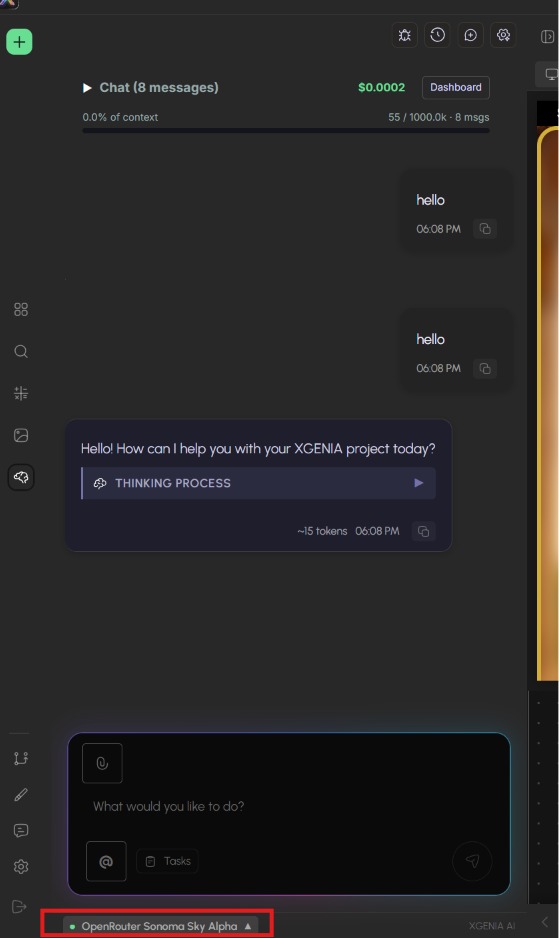
| Chat and agent reasoning | The model bar at the bottom of the chat panel |
The Image AI tab sets the models the agent reaches for while it builds — one active model for Create new images, one for Edit an image. You do not need to come here to change what the Image Editor generates with; that is the Model Hub, one click from the prompt bar.
Switching the language model does not need settings at all. Click the model name at the bottom of the chat panel.
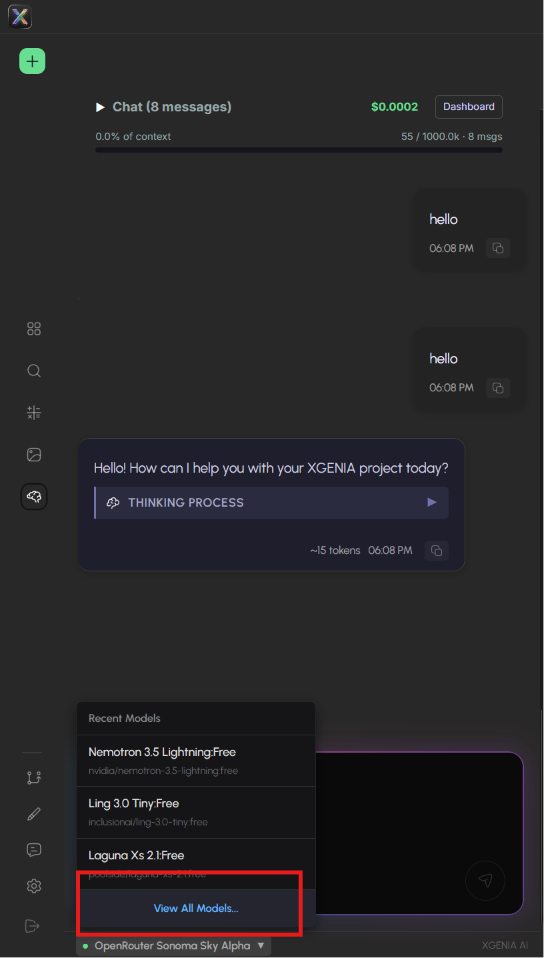
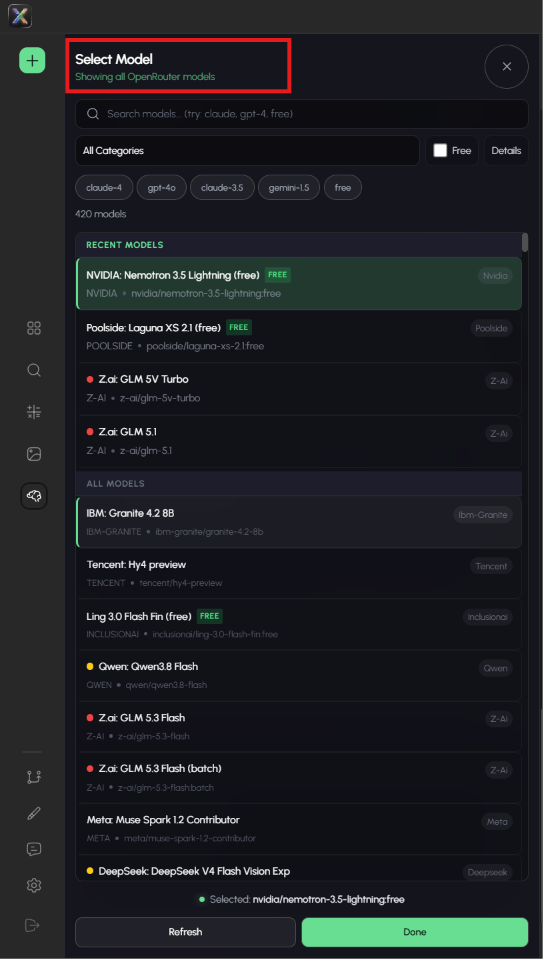
That opens your recent models, with View All Models… underneath for the full catalogue.
In the wider workflow
The Image Editor is where an asset gets finished. For generating art as part of a build — where the AI creates it and places it into your project for you — see AI Agents, or follow AI Workflow Overview for the whole game-building loop.