Export to PSD
The AI Image Editor is in early alpha. This flow changes often.
A generated image arrives as one flat picture. This guide turns it into a layered Photoshop file — background, characters, UI panels and each button on its own layer — so it can be finished by hand, handed to an artist, or wired into a game as separate assets.
The whole flow lives in the Layer editor. Double-click an image on the canvas to open it.
Step 1 — Describe what you want separated
The editor opens on the OBJECTS panel.
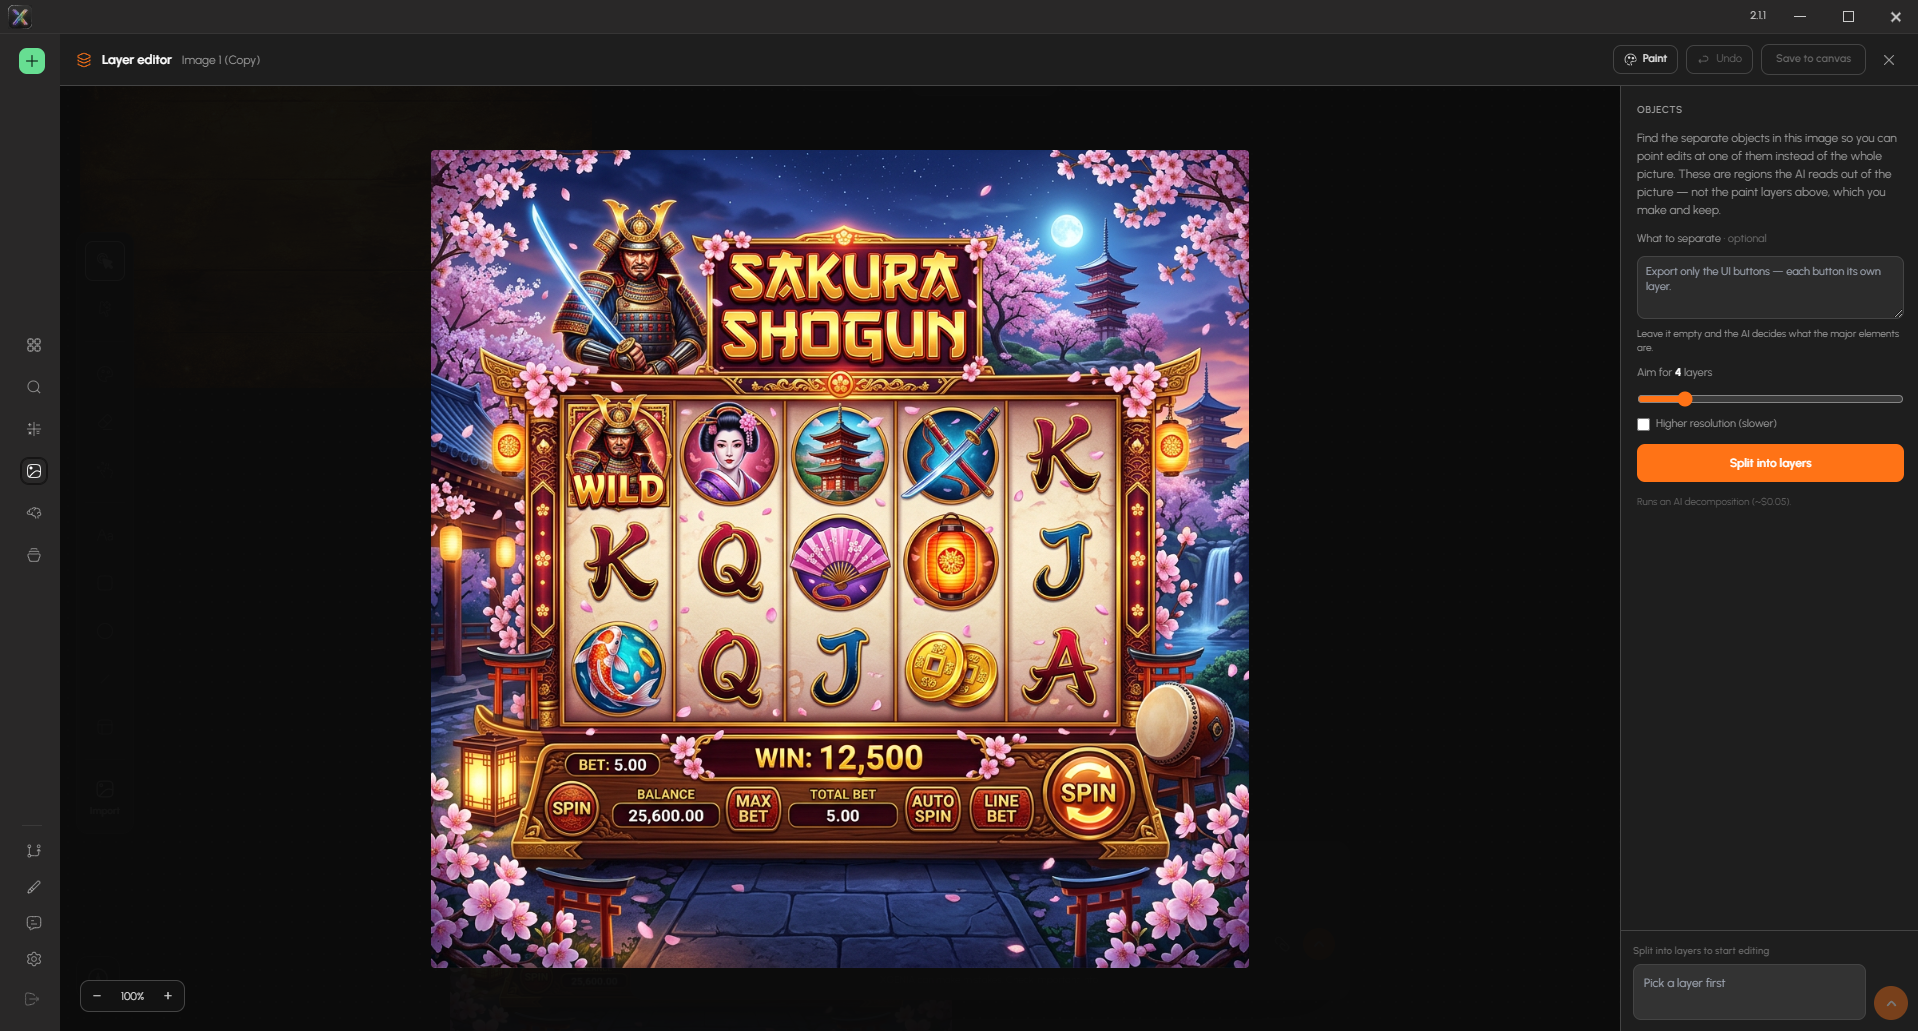
| Control | What to do with it |
|---|---|
| What to separate (optional) | Say what you are after in plain language — "Export only the UI buttons — each button its own layer." Leave it empty and the AI decides what the major elements are. |
| Aim for N layers | How many regions to target. Drag it up for a busy game screen. |
| Higher resolution (slower) | Cleaner edges, longer wait. Worth it for assets you intend to ship. |
Be specific in What to separate when you have a specific job. On a slot screen, "each button its own layer" gets you a spin button you can move; leaving it blank gets you whatever the model considers a major element, which may lump the whole control bar together.
Step 2 — Split
Click Split into layers. The button reads Splitting… while it works, and a toast appears over the image.
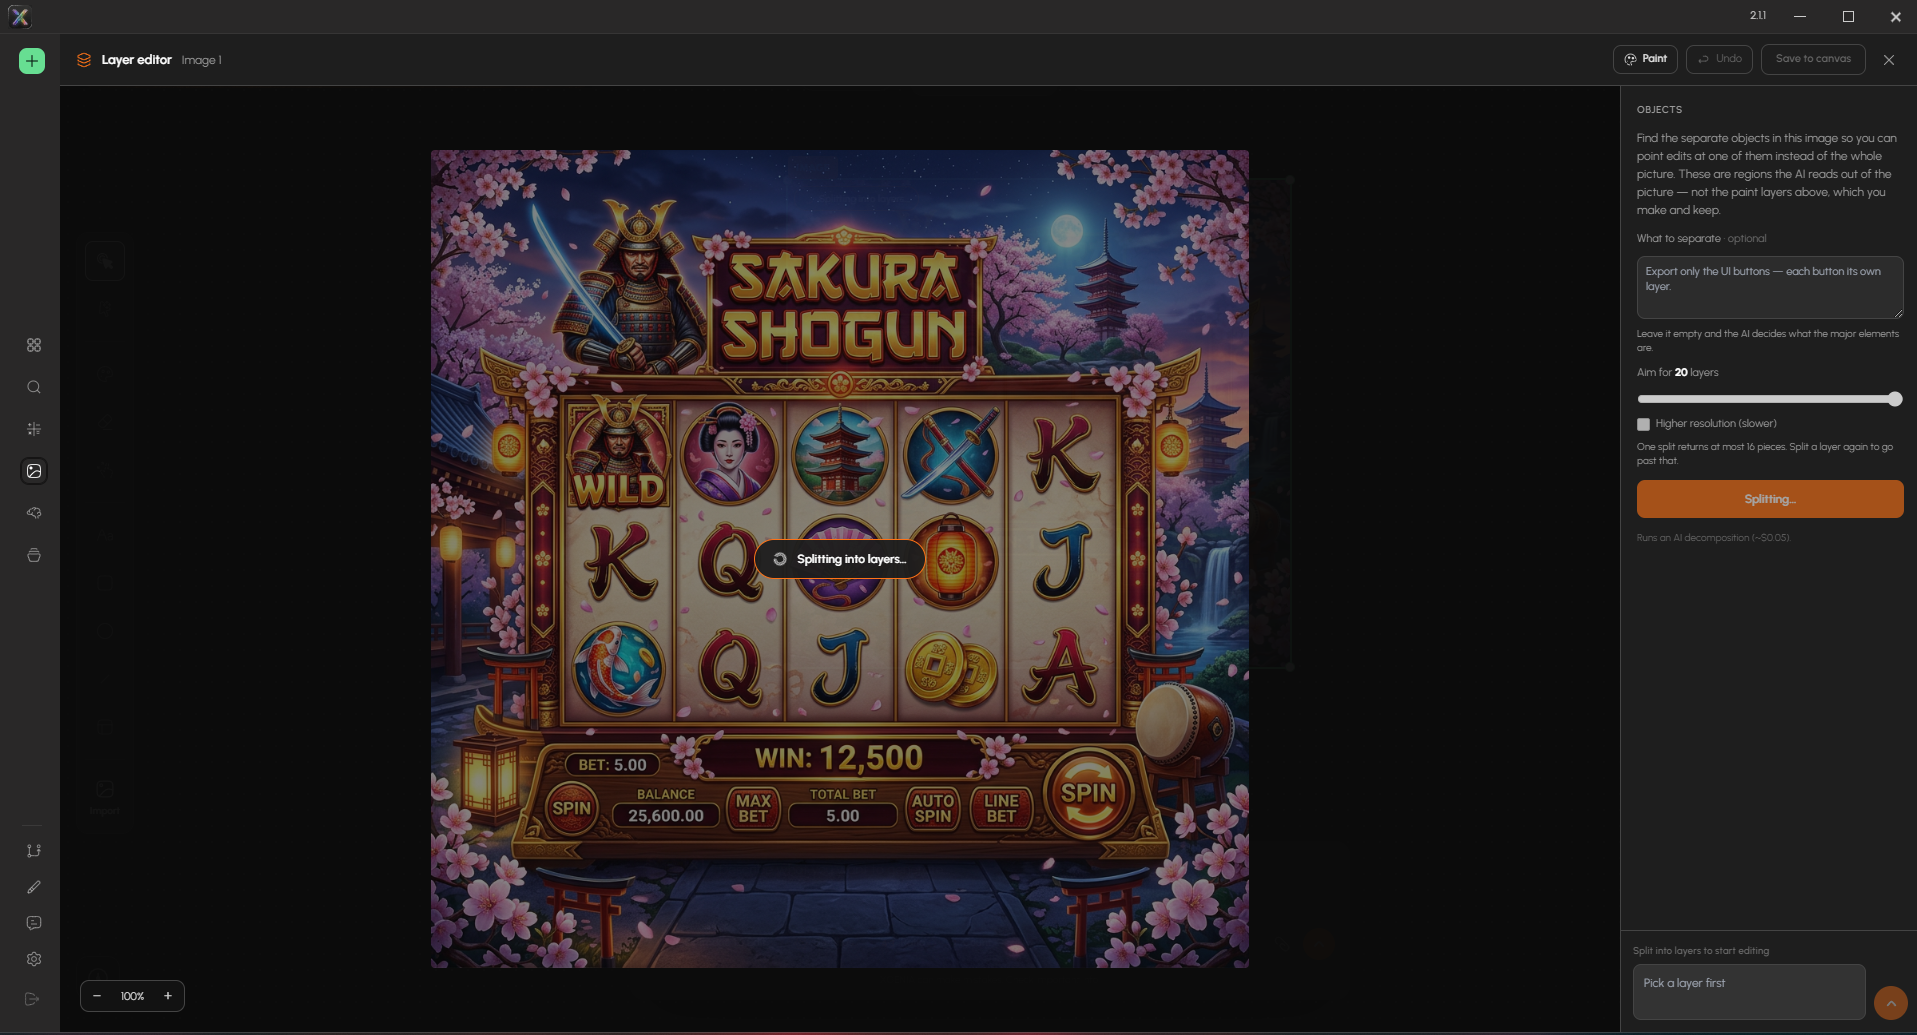
The panel states the cost up front — runs an AI decomposition (~$0.05) — and one limit that shapes how you use it:
One split returns at most 16 pieces. Split a layer again to go past that.
So the slider going to 20 is not a promise of 20 layers in one pass. For a dense screen, split once at the top level, then split an individual region again to break it down further.
Step 3 — Check what it found
When it finishes, the panel lists every object it identified, each with a thumbnail and an eye toggle to show or hide it. The image itself gains dashed bounding boxes.
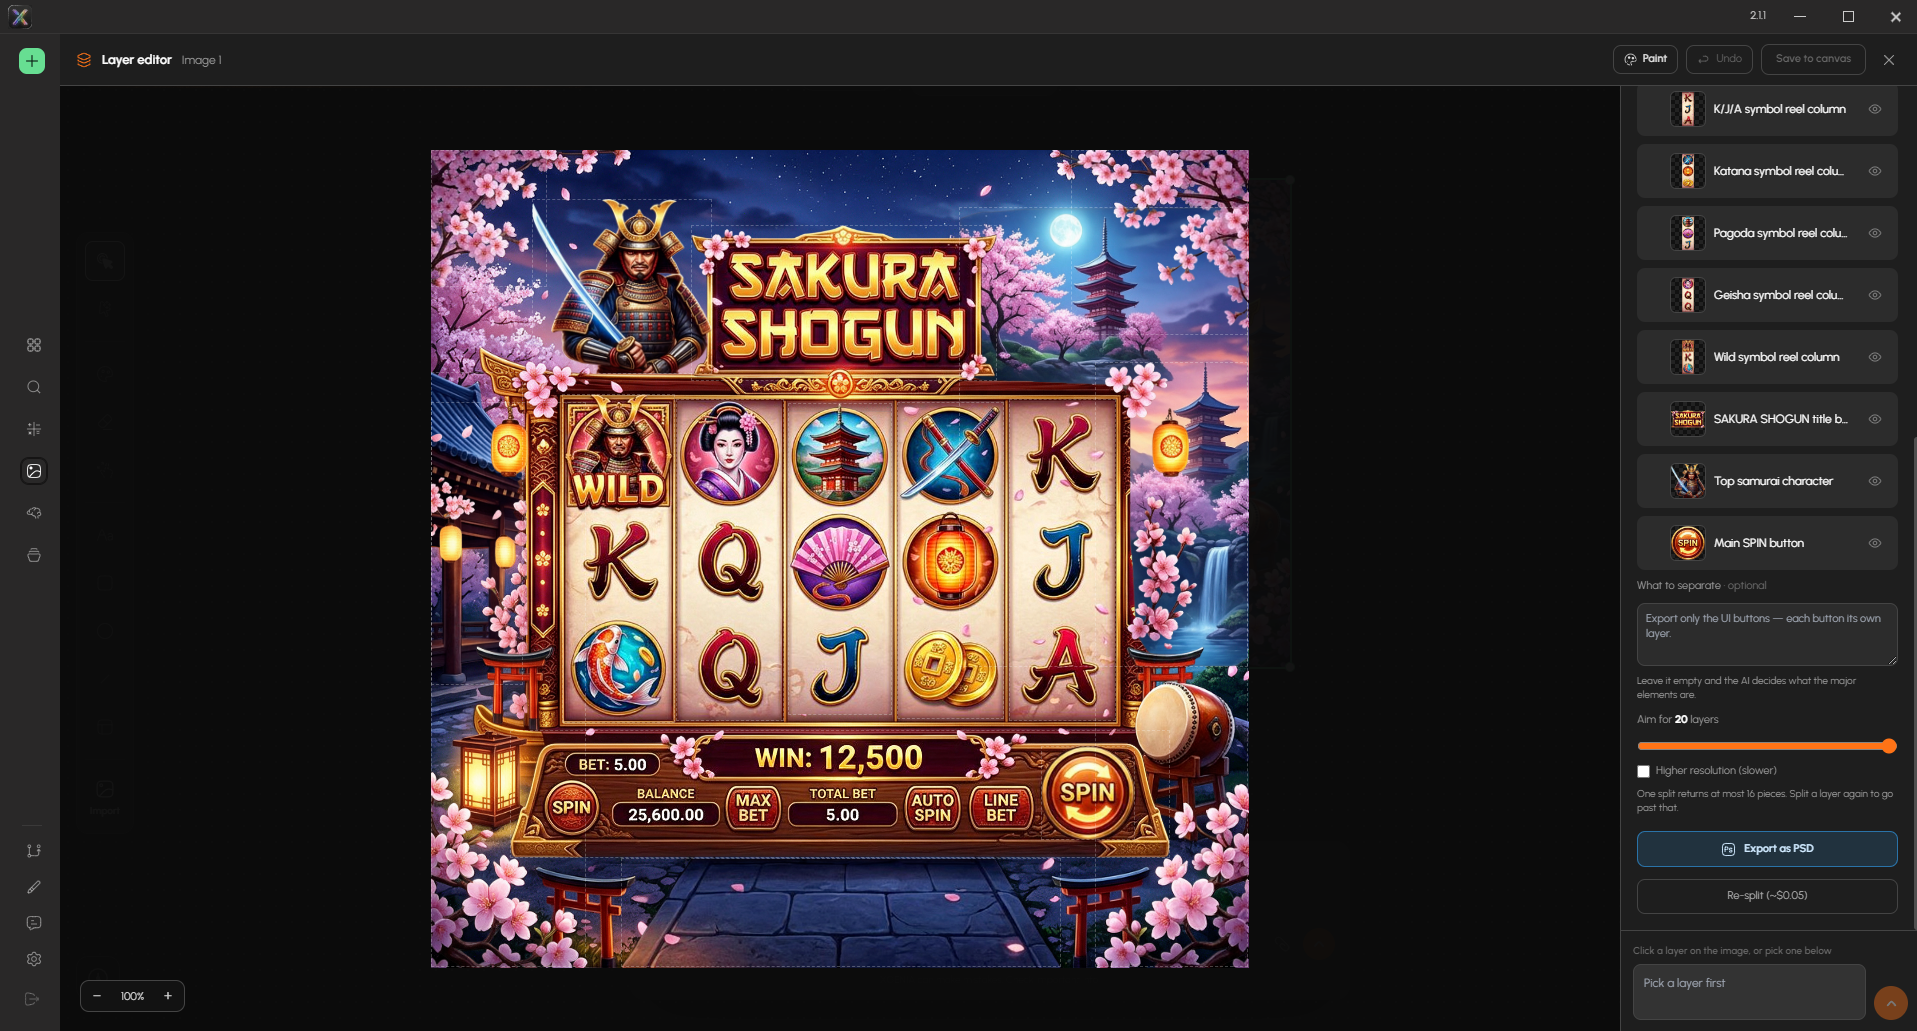
The names are descriptive rather than generic — Top samurai character, SAKURA SHOGUN title banner, Main SPIN button, Geisha symbol reel column — which is what makes the resulting PSD navigable instead of a stack of Layer 12.
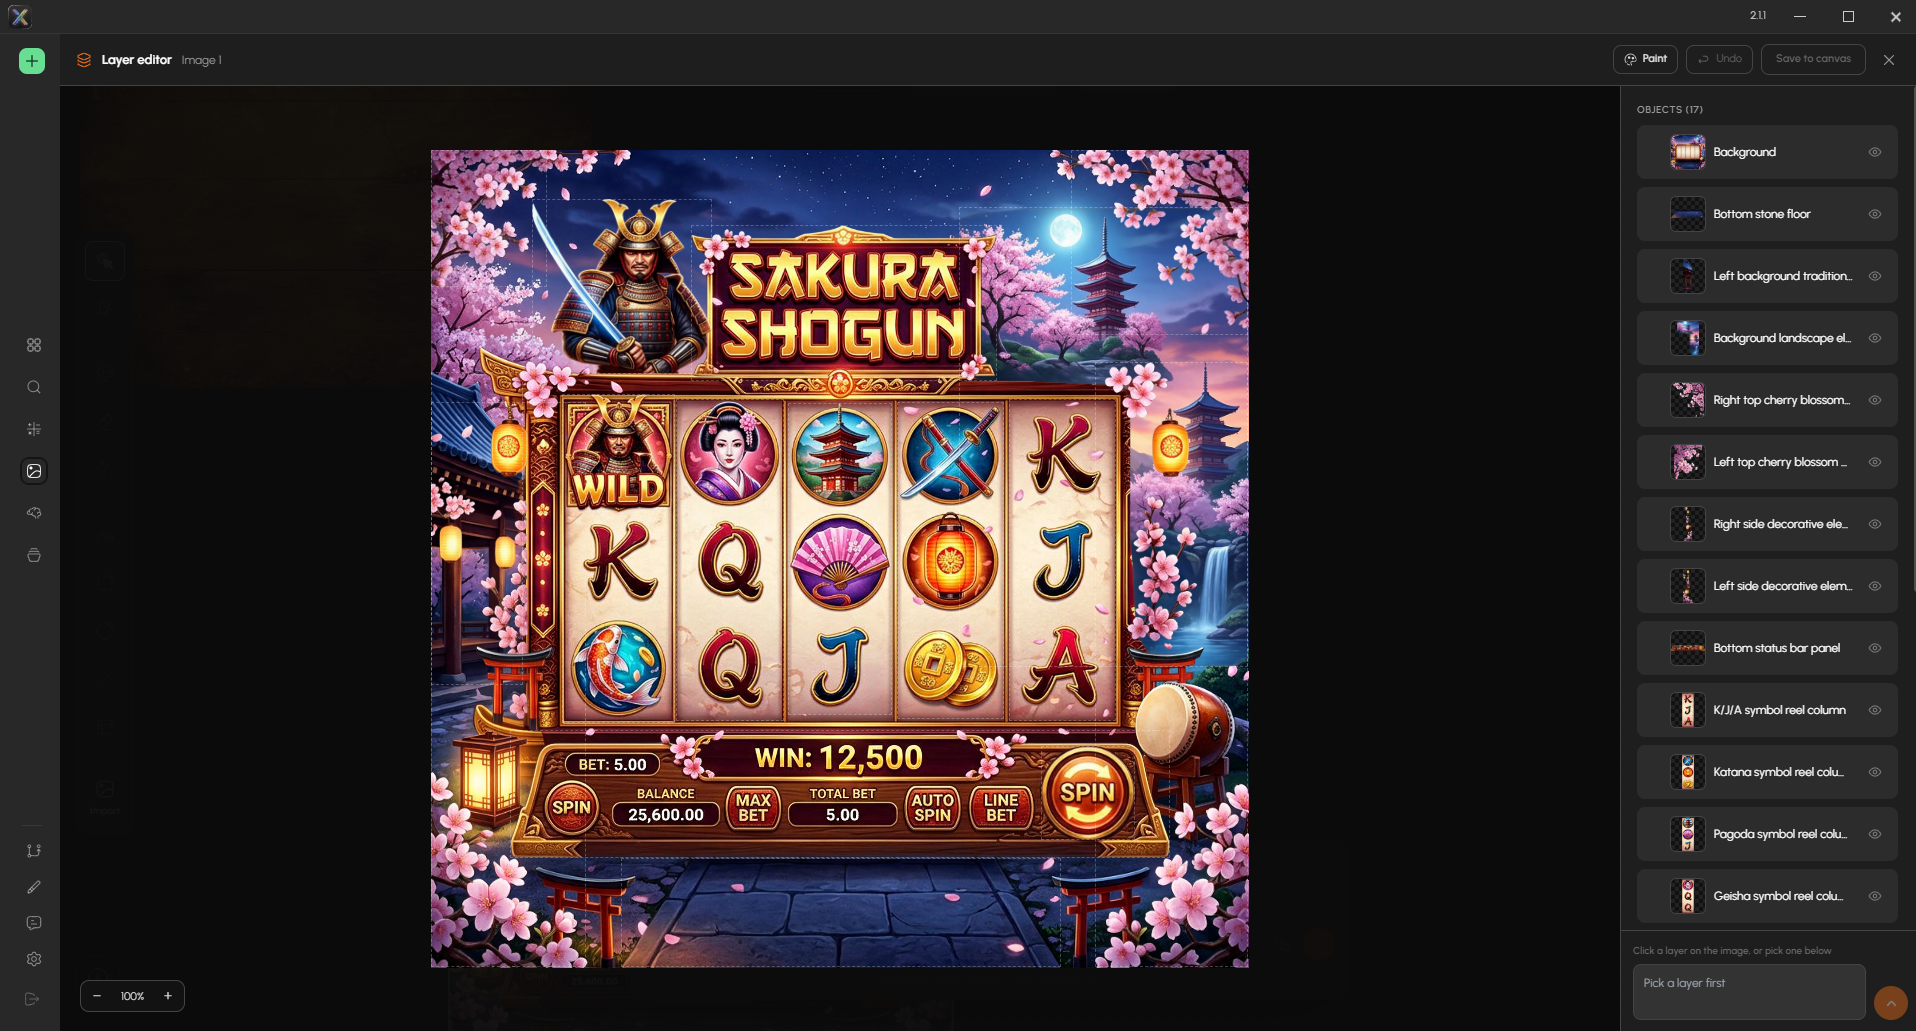
Scroll the list to review the lot. On this example the header reads OBJECTS (17): background, stone floor, left and right background architecture, landscape, cherry blossom clusters, side decorations, the status bar panel, each symbol reel column, the title banner, the character and the spin button.
Toggle eyes off and on to confirm a region really contains what its name claims before you export.
Re-split (~$0.05) runs the decomposition again — use it if the result missed something, after adjusting the prompt or the layer count.
Step 4 — Export as PSD
Click Export as PSD.
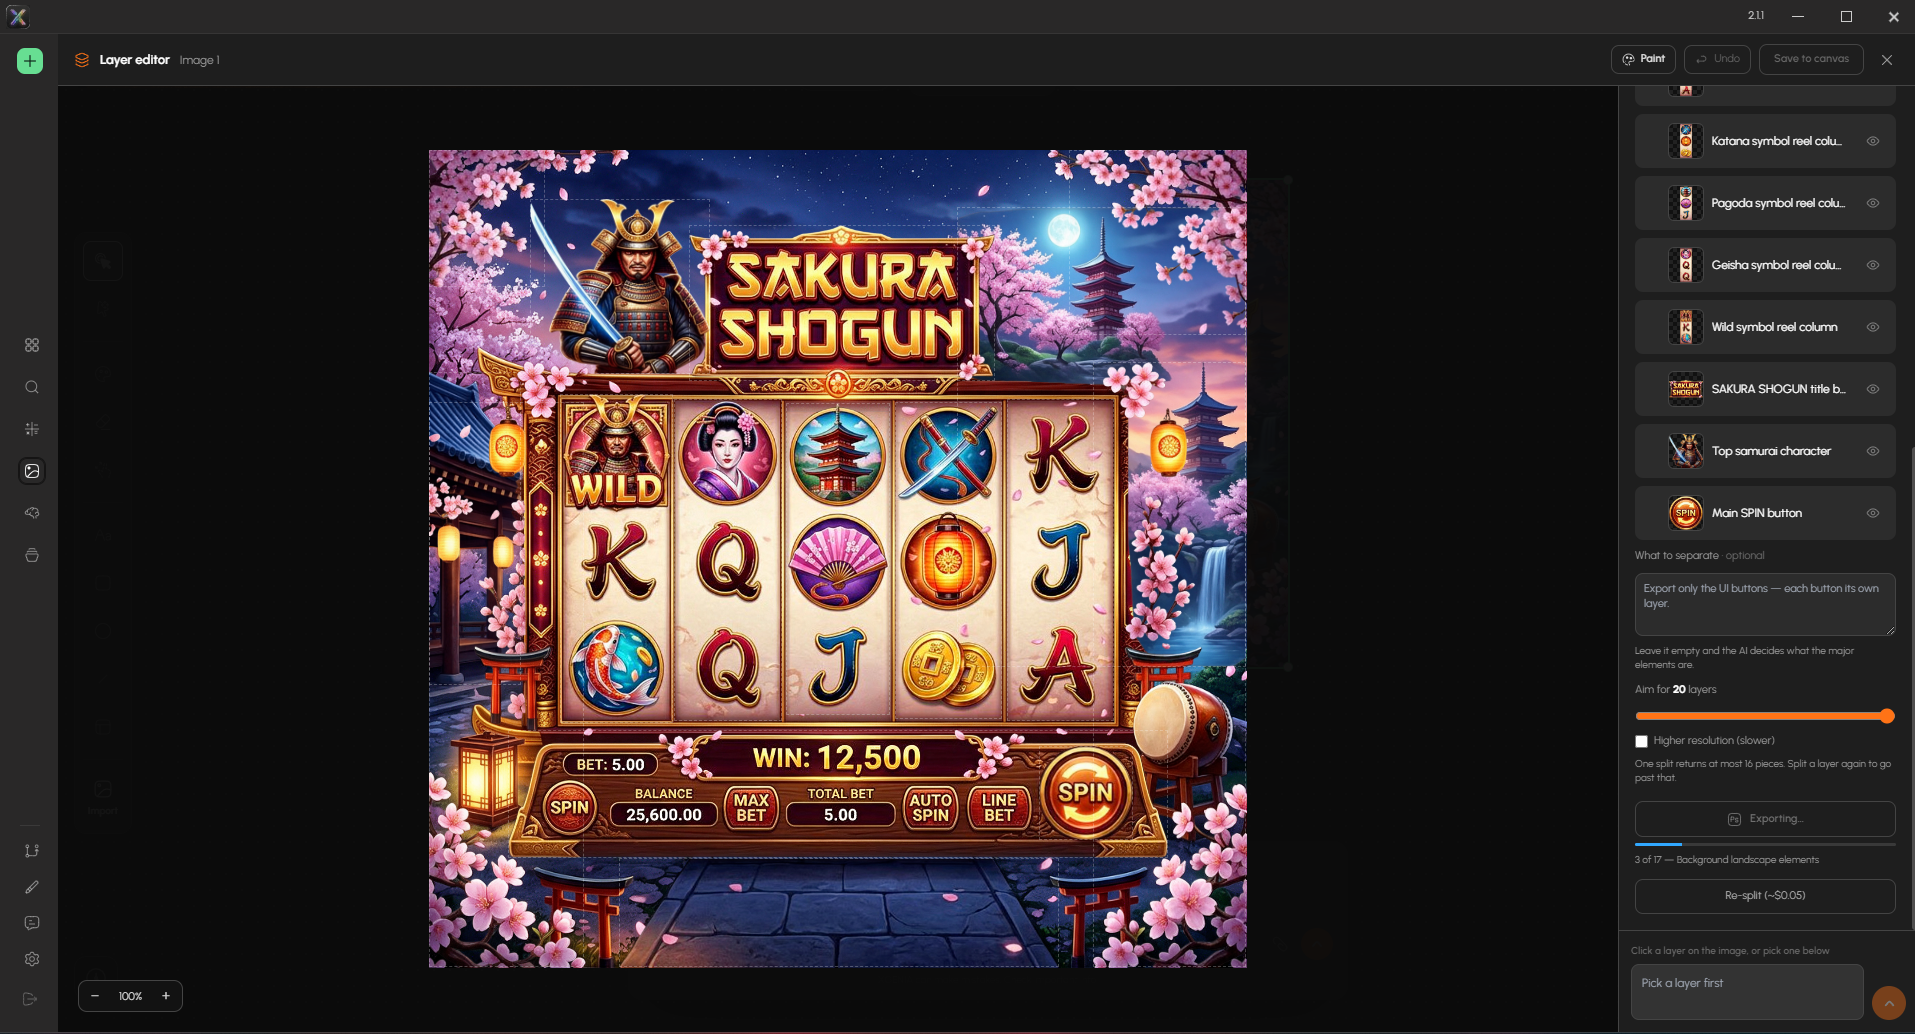
The button becomes Exporting… with a progress bar and a running commentary of which layer it is on — 3 of 17 — Background landscape elements. Larger splits take a while; the counter tells you it is still working rather than stuck.
Then a normal Save As dialog opens, pre-filled with a .psd filename.
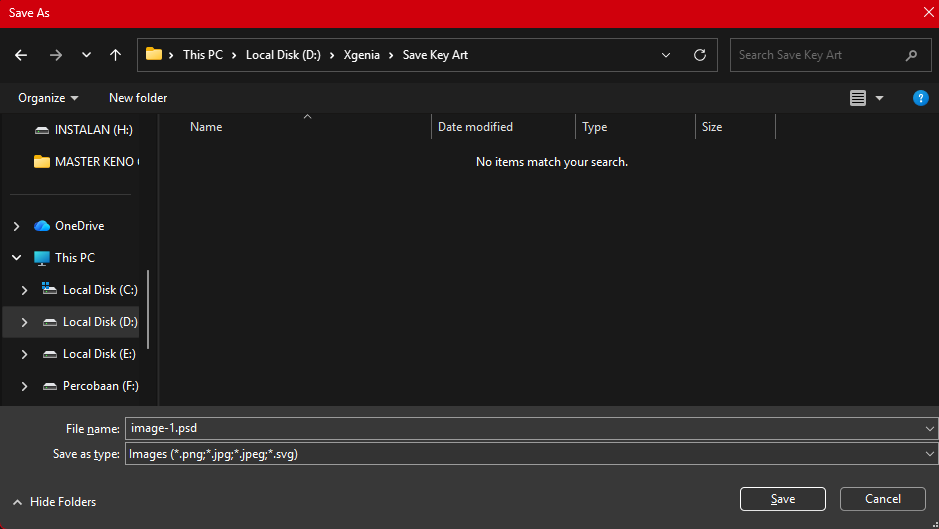
Pick a folder and save. The file opens in Photoshop — or any editor that reads PSD — with the objects as named layers.
The warning worth reading
If you change the picture after splitting it, XGENIA tells you what that costs:

The 17-layer split belongs to the picture as it is now, so it is dropped and has to be re-run (~$0.05) on the new one. Export the Photoshop file first if you want to keep it.
A split is bound to the exact image it was made from. Edit, inpaint, upscale or repaint the picture and the split is discarded — you pay again to redo it.
The practical rule follows directly: finish the image first, split last, export immediately. If you split early to inspect something and then keep editing, expect to pay for the split twice.
A working order
- Generate and refine the image until you are happy with it — masking, inpainting, colour, upscaling.
- Only then double-click into the Layer editor.
- Write What to separate if you have a specific need.
- Split into layers.
- Review the object list, toggling eyes to verify.
- Export as PSD straight away.
- Re-split only if the breakdown was wrong, not because you changed the art.
Where this fits
| Use | Instead of |
|---|---|
| Handing art to a designer to finish in Photoshop | Sending a flat PNG and a list of notes |
| Getting each UI button as a separate asset for a game | Cropping by hand in an external editor |
| Reusing one element of a generated scene | Regenerating the whole scene to change one part |
For the rest of the editor — masking, upscaling, background removal, the paint engine — see Editing & Layers.